1

Simple Carrot Cake

This is a super easy version of the classic carrot cake…moist and soft with thin layers of light cream cheese frosting in between.

There are hundreds and hundreds of carrot cake recipe, and this one is one of the easiest one…especially when we are on lock down and have limited ingredients…

I made this cake for my husband’s birthday a few days ago…since we could not go out and celebrate as we usually do, I asked him what cake he would like and he asked for carrot cake…after searching my entire pantry for pineapple which was nowhere to be found I had to adapt…

– Why is this carrot cake “healthy”?

Well, believe it or not, there is a whole pound of carrot in it…and yes, makes me feel less guilty knowing that I am eating lots of carrot per bite.

– Is there a lot of sugar in it?

If you have been following me, I always…always try to cut the sugar and fat without compromising the flavor and texture of my baking goods.  So yes, there is sugar, but much less as compared to the recipes that you find out there and I can assure you that you will not miss it.

– Can I freeze the cake?

Absolutely, first slice the cake into desired portion and wrap in plastic film, place the sliced cakes in freezer bags, seal well by first removing all the air and store in the freezer for up to 3 months. Defrost in the refrigerator overnight and it will taste as fresh as it can be.

– Can I use different size of baking pan?

Of course, just make sure to adapt the baking time accordingly.

– Are you ready to try this easy and carrot cake?

Ingredients:

Carrot Cake

  • 4 large eggs
  • 175 g sugar
  • 200 g vegetable oil such as canola or sunflower
  • 250 g all-purpose flour
  • 1 teaspoon baking soda
  • ½ teaspoon baking powder
  • 1 ½ teaspoons ground cinnamon
  • ¼ teaspoon salt
  • 1 lb carrot, shredded

Cream Cheese Frosting

  • 1 lb cream cheese
  • 4 tablespoons butter
  • 1 cup powder sugar
  • ½ teaspoon vanilla extract
  • 1 ½ to 2 cups toasted walnut and chopped

Method:

Preheat oven to 350oF.

In a bowl sift together flour, baking soda, baking powder, salt and cinnamon. Set aside.

Mix together the eggs and sugar, whisk until think, light and fluffy, add the oil slowly in a steady stream. Continue whisking until well incorporated.

Add the sifted dry ingredients into the egg mixture and fold gently.  Once the flour is well incorporated into the egg mixture, fold in the carrot. Do not over mix…just enough to combined.

Spread the batter evenly onto 36 X 24 cm (14.5” x 9.5”) jelly roll pan. Tap the pan lightly on the counter to remove excess of air bubbles.

Bake in 350oF for 15 minutes or until a wooden pick inserted in the cake comes out clean.

Let the cake cool on a wire rack.

In the meantime, whisk together the cream cheese, butter, sugar and vanilla extract until soft and fluffy. Make sure to scrape down the sides occasionally.

To assemble the cake, cut the edge of the cake and split the cake into 4 equal rectangles.

Place the first layer and spread a thin layer of cream cheese frosting and sprinkle with chopped toasted walnut, continue with all the layers of cake and finally spread the frosting around the sides of the cake and decorate with the remaining chopped almond.

Place the cake in the refrigerator until time to serve. I personally like the cake after being refrigerated overnight.

– If you enjoy this simple classic carrot cake, you might want to take a look at these cakes…

Did you know that carrots are loaded of beta-carotene? Beta-carotene is a precursor for vitamin A which is essential for boosting your immune system. Studies have also shown that carrots can protect against hypertension (increase blood pressure) and cardiovascular disease.

Thank you for visiting Color Your Recipes…have a colorful week!


Air Fried Taiwanese Black Pepper Chicken

These little chunks of chicken are so tasty and totally addictive…they all come with lots of flavors and are a favorite in Taiwanese cafes…

I love this chicken, and with the help of the air-fryer I am not worry about of the fat that come with it…the original recipe calls for deep fry, since I have been avoiding deep frying at home I would only get this chicken when eating out.  Well, no more of ordering this chicken now that I can use the air-fryer and get the same crispy chicken.  I like to use chicken thighs for this recipe since it has a bit more of fat therefore more flavor.

This chicken is very often found in Taiwanese cafes and are sort of appetizer/snack…finger food.  I usually serve as appetizer or accompanied by a big bowl of salad if I want to use as a main dish. So here is how I make…

Ingredients:

  • 1lb chicken thighs, no skin and bone
  • ¼ to ½ teaspoon Chinese 5 spice powder
  • Pinch sugar
  • ½ tablespoon sesame oil
  • 1 tablespoon cooking wine
  • ½ tablespoon soy sauce
  • Salt
  • Black pepper (freshly ground) as much as you like
  • All-purpose flour for coating

Method:

Cut the chicken into small pieces of approximately 1 ½in.

In a medium bowl, place the chicken and add the salt, sugar, sesame oil, Chinese 5 spice, cooking wine, soy sauce and the black pepper.  Marinate for at least 30 minutes.

In a deep plate place the all-purpose flour and coat each piece of chicken.  Make sure that each piece of chicken is well coated with the flour.

In the meantime set the air-fryer to 350F. Once the temperature is reached, add the chicken to the basket and set it to cook for approximately 10 minutes.  Shake the basket in between the cooking time.

Remove the chicken from the air-fryer and serve hot.

I hope you enjoy this simple recipe for the very popular Taiwanese black pepper chicken adapted for air fryer.

Did you know that ½ cup of dry black-eyed peas are low in fat and provide more than 20% of the daily recommended amount of fiber?

Thank you for stopping by Color Your Recipes…have a colorful day!


Rye Sandwich Bread with Gluten

This is an Asian inspired sandwich bread made with rye and a bit of gluten. Because I use tangzhong or water roux in the dough, the bread stay soft and cottony for days.

First of all, I hope you all had a great Memorial Day weekend and had a chance to take a moment to remember all the people that fought for our freedom…

This week I am sharing a recipe that is adapted from the one that I posted here. I decide to add some gluten to make the dough a bit pliable, for the horror of the gluten free dieters. Sorry it is nothing personal, since we do not have any problem with gluten I decided to “abuse” a little.

The original recipe that I used was pretty good, but the addition of gluten made it softer and silkier. Since rye flour contains less gluten it was logical just to replace the “missing” gluten as it was for using regular flour. With all this said, I can assure you that if you close your eyes and bite into this bread you will never say that the bread was made with rye flour.

The good thing is that all the goodness of rye flour will not compromise the texture of this bread.

Ingredients:

Water roux or Tangzhong

  • 50 g bread flour
  • 250 ml water

Rye Dough

  • 550 g bread flour
  • 100 g dark rye flour
  • 90 g sugar
  • 8 g salt
  • 8 g yeast
  • 5 g vital wheat gluten
  • 120 ml whipping cream
  • 90 ml water
  • 60 g butter (room temperature)

Method:

Water roux or tangzhong

In a small pan, mix all the ingredients of water roux, place in a low heat and stir constantly until the temperature reach 65C (150F), or if you do not have a thermometer, cook until ripples form. Set aside to cool by covering with a plastic film. Please see here.

Rye Dough

Place all the cooled water roux and all the ingredients listed under rye dough into a mixer except for the butter. Mix until all the ingredients are together, it will slightly sticky.

Increase the speed to number 2 and continue to mix for 5 minutes.

Add the butter and continue the mixing until the dough is smooth and comes out of the mixing bowl, this will take approximately 15 minutes. You will notice that the dough will no longer be sticky.

Place the dough into a medium to large bowl. Cover and let it proof until the size triple from the original size.

Now it is time to shape the dough…

Knock back the dough and split into approximately 8 little balls and let it rest for 5 minutes on the counter.

Flatten the ball making sure that the air is removed and fold into thirds, then roll it like a Swiss roll.

Place the Swiss rolls into the Pullman (4 each) pan and let it rise until triple of its original size.

Cover the pan and bake in a preheated oven of 350F for approximately 25 minutes.

Remove from the oven and flip the bread into a wire rack to cool. Slice according to your like.

Store the bread in an airtight container.

For more bread recipes, please check HERE.

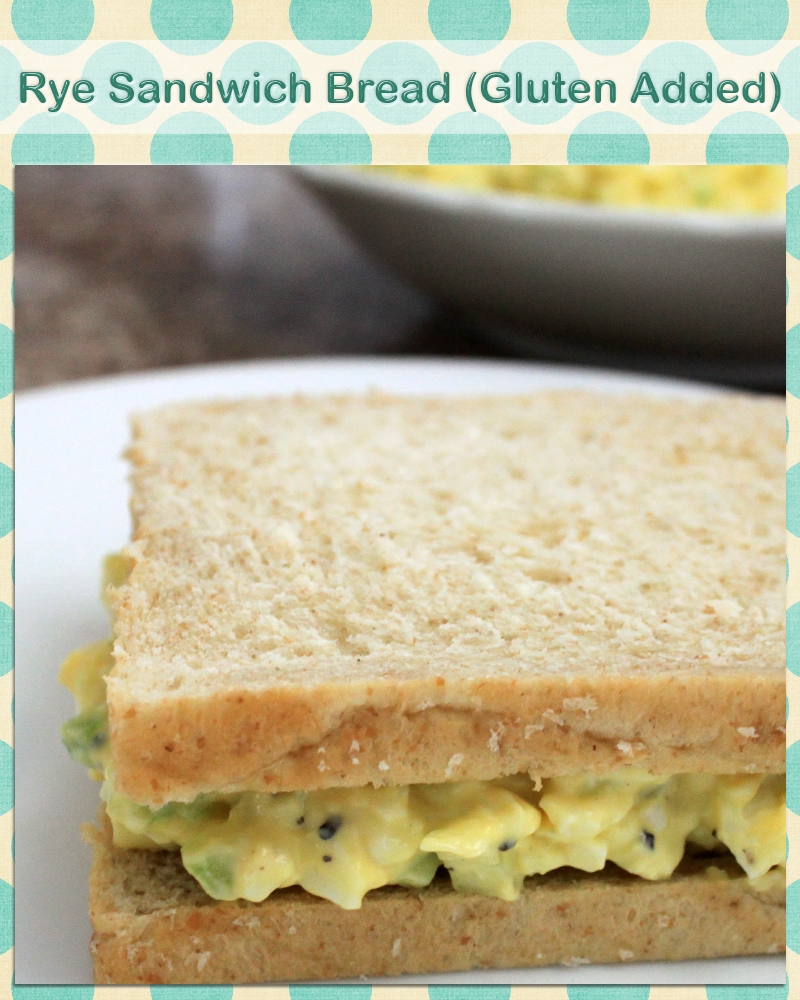
Did you know that gluten is formed when these two proteins glutenin and gliadin form a bond? Moreover, gluten gives bread a chewy texture and traps carbon dioxide during fermentation.

Thank you for visiting Color Your Recipes…have a colorful week!


Rainbow Carrot Slaw Salad

This is a simple recipe for a very colorful salad using mainly carrots. This salad has great textures, especially when topped with chopped nuts.

This is such a simple, fun and easy recipe for put together…the colors of the rainbow carrots are so “sunny”, and it will make any dinner table look very pretty and “happy”. The flavors of this carrot slaw burst with the tanginess of apple vinegar and the sweetness of the honey. There are many textures, from slightly chewy, crisp to crunch…as you can see and imagine…this rainbow carrot slaw is packed with a lot of pleasant qualities for the taste buds…I sure hope you get to try it…

Ingredients:

  • Approximately 1 lb of carrots, peeled and grated
  • 2 tablespoons apple vinegar
  • 3 tablespoons extra virgin olive oil
  • 1 ½ tablespoons honey
  • 2 to 3 tablespoons fresh chopped parsley
  • 3 to 4 tablespoons dried cranberries
  • Salt and pepper to taste
  • Roasted nuts of your preference (almond, walnut or pecan) or mixed nuts

Method:

Combine apple vinegar, olive oil, honey, salt and pepper in a small bowl. In a large bowl mix the carrots, parsley and cranberries, toss the dressing on it and mix well. Cover and refrigerate for 10 to 15 minutes. Taste for salt and pepper and add more if necessary.

Toss in the nuts just before serving.

If you enjoyed this simple carrot slaw recipe…you might want to check on another very simple recipes…Fennel Salad.

Did you know that bright orange color of carrots is from beta-carotene? Beta-carotene is then metabolized to vitamin A. Carrots are a great source of a variety of antioxidants, therefore eating carrots might benefit your cardiovascular system as well as anti-cancer benefits.

Thank you for stopping by Color Your Recipes…have a colorful week!


Oven Fried Panko Chicken

First of all…Happy Memorial Day!

I love the simplicity of this chicken…while the chicken is baking you can prepare the salad to go with it…
You can dip the pieces of chicken in any sauce if you desire, but I can assure you, very little is needed since the pieces of chicken are packed with flavor…

Ingredients:

2 chicken breasts thinly sliced
3 cloves garlic finely chopped
¼ cup cilantro finely chopped (or parsley)
Salt and pepper to taste
3 tablespoons flour or cornstarch

Approximately 2 cups of panko
1 egg plus 2 tablespoon of water

Method:

Preheat oven to 400F.

In a bowl place the chicken, garlic, cilantro (or parsley), salt and pepper. Mix well and add flour. Mix gently until all the pieces of chicken are evenly coated with flour.

Place the egg and water in a deep plate, beat with a fork as you a making an omelet. On the second deep plate add the panko.

Dip the pieces of chicken, one by one into the egg and then on the panko. Set all the pieces aside until they are all coated with panko.

Spray a baking sheet (or silicone mate) with olive oil and gently place the chicken on the sheet. Lightly spray the pieces of chicken.

Bake the chicken in a preheated oven for 25 minute at 400F.

Serve hot.

If you enjoy this recipe you might want to check on Simple Panko Crusted Chicken Cutlets which the chicken cutlets are pan fried.

Did you know that “panko” is a Japanese term for “bread crumbs”? Panko is the Japanese version of bread crumbs and they are lighter, crispier and crunchier then the conventional bread crumbs. Panko are more like flakes then crumbs.

Thank you for stopping by Simple Recipes [dot] Me and have a great week!


Kalamata Olive Ciabatta

This recipe is very similar to the Ciabatta using bread machine, I just added Kalamata olives, and a little bit more flour after the olives were added to the dough. This bread is so tasty and great for sandwiches, and is one of my niece Erica’s favorite bread.

Ingredients:

Biga
½ cup water
¾ cup bread flour
¼ teaspoon yeast

Main dough
1 2/3 cup bread flour
½ teaspoon sugar
½ teaspoon gluten
1 tablespoon olive oil
1/3 cup olive brine and complete to ½ cup with water
½ teaspoon salt
¼ teaspoon yeast

½ cup Kalamata olives cut in half
2 tablespoon bread flour

Method:

Place the ingredients of the biga in the bread machine bucket and set to mix for approximately 5 minutes, until all the flour is incorporated.

Turn the bread machine off and let the biga sit for 12 to 15 hours.

Next day, add all the ingredients listed in the main dough and set the machine to mix and knead except the Kalamata olives.

Add the Kalamata olives once the machine beeps and add 2 tablespoon of flour.

Once the bread machine stop, place the dough in a lightly oiled container and cover with a oiled plastic film. Let is rise in a warm place until the dough size double. The dough with me more in the wetter than your normal bread dough.
With a spoon gently scoop the dough in a flourly baking sheet. Shape gently the dough as desired and sprinkle with flour and let it rise in a warm place until the dough double in size.

Bake in a preheated 425F for 20 to 25 minutes until golden brown. Transfer to a wire rack to cool.

Did you know that Kalamata olives are named after a city of Kalamata in Greece? The Kalamata olives have the Protected Designation of Origin (PDO) which is a entity that protects the names of regional foods.

Thank you for visiting Simple Recipes!


Banana Muffins

Since my husband eats 1 banana a day and we get them at Costco, no need to tell you that we always end up with super ripe bananas…so this time I decided to bake some muffins…again this one is simpleand easy to make. These muffins are delicious, a great addition to breakfast or as an afternoon snack.
Detail…I asked my husband to mash the bananas, so the bananas were mashed but not all the way. Well, the muffins turned out good in spite of the semi-mashed bananas as we could bite into little pieces of banana.

Ingredients:

1.5 cup all purpose flour
1 teaspoon baking powder
2 eggs
1 cup sugar
1 teaspoon vanilla extract
4 oz of butter
1 cup chopped walnut
3 bananas mashed

Method:

Shift the flour and the baking powder together. In a bowl blend the eggs, sugar, vanilla extract, and butter. Once the batter is smooth add the flour and the baking powder and mix gently. Add the mashed banana and the walnut. Scoop the batter into standard muffin cups.
Bake in a pre-heated oven for approximately 20 minutes at 350F.

HAPPY MEMORIAL DAY!

Thank you for stopping by Simple Recipes and have a great week!