1

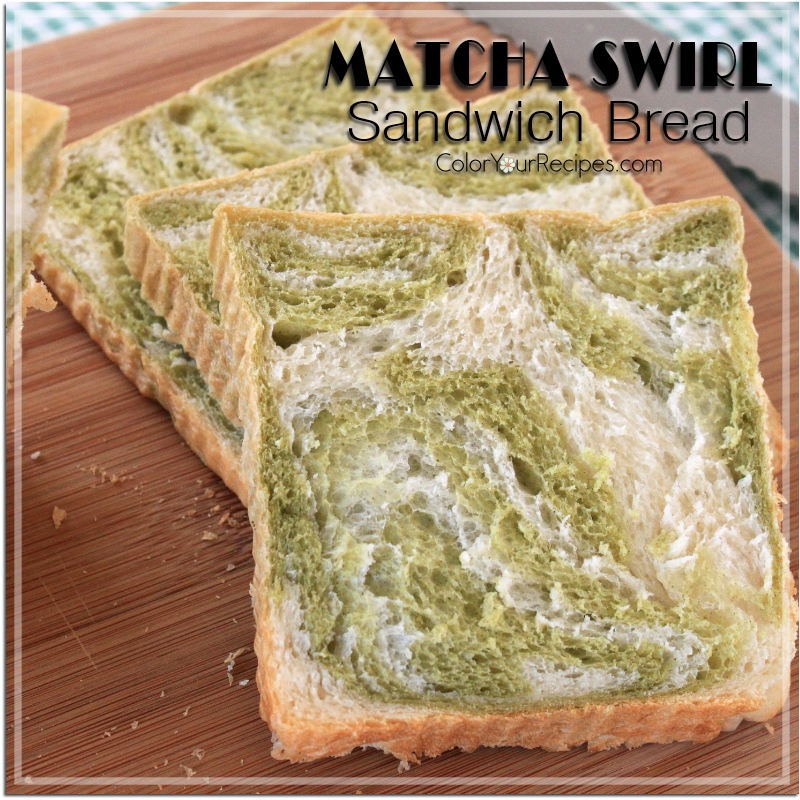
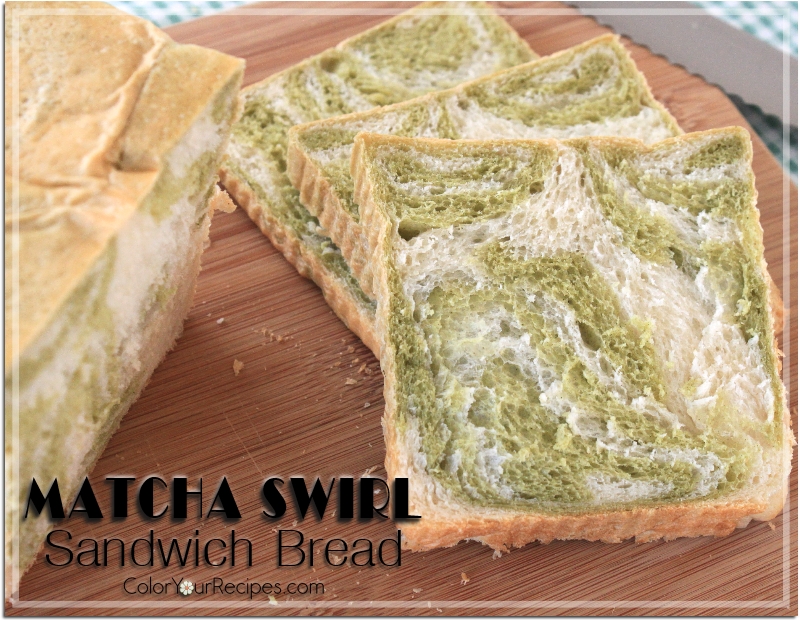
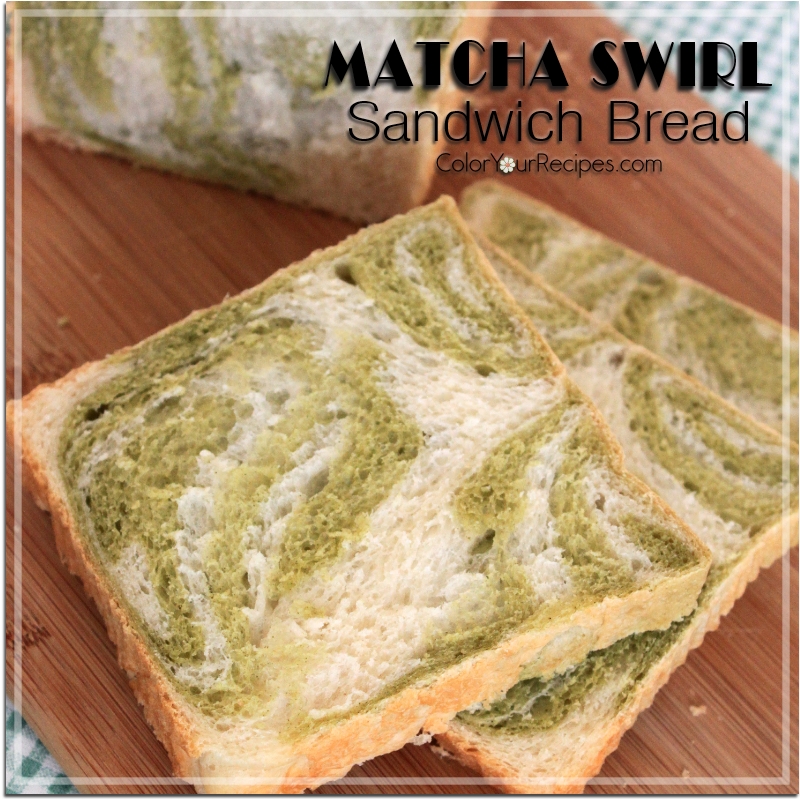
Matcha Swirl Sandwich Bread

This is a fun sandwich bread where layers of matcha dough can be found in each slice of bread. Tangzhong method is used in this recipe to accomplish a soft and cottony texture.

Somehow I am in the mood of rolling and twisting…and this bread is a perfect example. I made two loaves with this recipe, a matcha swirl and a black sesame swirl, but I only have the details for the matcha swirl sandwich bread.

Honestly the matcha pattern is a lot of fun and in reality is much simpler that it looks. You can roll and twist anyway you want, and I can guarantee you that no slice will look the same.

Lately, matcha has been added into all kind of food, especially drinks. What is matcha? Matcha is powdered green tea and because of the way it is grounded, drinking matcha or adding to food, means that you actually eating the green tea.

Matcha contains high levels of antioxidants and is an energy booster since contains caffeine. Many studies suggest drinking green tea may protect skin, heart and bones, therefore matcha might exhibit similar benefits.

In my opinion, the key word is “moderation”…everything should be eaten in moderation no matter what claims are.

Anyway, enough of talking…lets head to the recipe.

Ingredients:

Water roux or Tangzhong

  • 45 g bread flour
  • 225 ml water
  • 600 g bread flour
  • 60 g sugar
  • 7 g salt
  • 8 g yeast
  • 60 g half and half (or heavy cream, or water)
  • 20 g dry non-fat milk
  • 140 ml water
  • 60 g butter
  • 4g matcha

Method:

Water roux or Tangzhong

In a small pan, mix all the ingredients of water roux, place in a low heat and stir constantly until the temperature reach 65C (150F), or if you do not have a thermometer, cook until ripples form. Set aside to cool by covering with a plastic film. Please see here.

Bread dough

Place all the cooled water roux and all the ingredients listed under dough into a mixer except for the butter and the matcha powder. Mix until all the ingredients are together, it will slightly sticky.

Increase the speed to number 2 and continue to mix for 5 minutes.

Add the butter and continue the mixing until the dough is smooth and comes out of the mixing bowl, this will take approximately 15 minutes. You will notice that the dough will no longer be sticky.

In a small bowl weigh the matcha and add 1 to 1 ½ tablespoon of water and make a thick paste. Remove the dough from the mixing bowl and weigh 250g of dough . Add matcha paste to the dough and knead well until all the matcha is incorporated into the dough.

Place the doughs into 2 separate bowls. Cover and let it proof until the size triple from the original size.

Now it is time to shape the dough…

Knock back doughs and weigh 330g of the white dough. Split into 4 small balls. Split the matcha dough into 4 little balls.

Flatten the ball white dough into a square and do the same with the matcha dough, using a roller pin. Layer the matcha dough onto the white dough and roll making sure that the air is removed and roll it like a Swiss roll. Twist the roll around it. Place the rolls in a Pullman pan with lid. Repeat with the remaining 3 balls of white and matcha dough.

Let the dough rise until triple of its original size.

Cover the pan and bake in a preheated oven of 350F for approximately 25 minutes.

Remove from the oven and flip the bread into a wire rack to cool. Slice according to your like.

Store the bread in an airtight container.

Did you know that green leaves for the production of matcha are placed in shade during growth in order to slow it? Moreover, during this process, there is a stimulation of chlorophyll production, turning the leaves into a dark green.

Thank you for visiting Color Your Recipes…have a colorful week!


Beef, Celery and Carrot Stir-Fry

This is a very simple and healthy Asian inspired beef stir fry with just a few ingredients…celery and carrot. Great served with a bowl of rice

This is another Asian inspired simple recipe which involves just a handful of ingredients…and I bet you that you have them all in your kitchen. This stir-fry beef is delicious served over a steamy bowl of rice and great for next day lunch or dinner, therefore don’t be reluctant to make it even by doubling the recipe.

In one bite you will have the combination of flavorful beef with the slightly crunchy celery and carrot…so good!

Ingredients:

  • ½ lb finely sliced beef, I used shabu shabu boneless ribeye
  • 2 or 3 garlic cloves, finely chopped
  • ½ onion sliced
  • 1-2 scallion, chopped
  • 3-4 stalks celery, cut diagonally
  • 2-3 medium carrots, I used regular and white
  • ½ tablespoon olive oil
  • 1 tablespoon San-J organic reduced sodium soy sauce or any of your preference
  • ½ tablespoon corn starch
  • Salt and pepper to taste

Method:

In a medium bowl place the beef, garlic, soy sauce, salt and pepper, mix gently. Add corn starch and make sure that the beef is lightly coated with it.

In a fry pan or wok, add the olive oil and sauté the beef until all cooked and slightly brown. Remove from the pan and set aside.

On the same pan sauté onion and scallion for a minute or so. Add the carrots and then the celery. Cook until desired texture, a couple of minutes by stirring evenly.

Add the beef back to the pan and mix together with the vegetables.

Serve hot with rice.

Did you know that celery contains fairly high salt content? Therefore people that are watching for their salt content should be aware of it.

Thank you for visiting Color Your Recipes…have a colorful week!


Vietnamese Pickled Daikon and Carrot

Simple and easy daikon and carrot pickle recipe inspired by Vietnamese cuisine.  Great to have available in the refrigerator as it goes well in salad, sandwich and as a side dish.

I am sharing with you today a simple a versatile recipe for Vietnamese pickled carrots and daikons. I love to have them handy in the refrigerator. I usually add to sandwiches, on salads or as a side dish. They are crunchy and so flavorful. It is a balance between sweet and tart. This pickled vegetable is great in sandwiches especially when you have rich and fatty meats in it. Another option is to top your favorite salad with it, they add color, flavor and serves as a dressing as well.

I hope you get to try this simple and quick pickled Vietnamese inspired daikon and carrot.

Ingredients:

  • Approximately 1 lb daikon, cut into matchstick thickness
  • 1 large carrot, peeled and cut into matchstick thickness
  • 1 tsp salt
  • ½ C sugar
  • 1 C vinegar
  • 1 C water

Simple and easy daikon and carrot pickle recipe inspired by Vietnamese cuisine.  Great to have available in the refrigerator as it goes well in salad, sandwich and as a side dish.

Method:

In a bowl place the carrot and daikon and sprinkle with the salt. Toss and gently knead with your hands the carrot and daikon until they are slightly soften and liquid will pool at the bottom of the bowl. Drain the carrot and daikon in a colander and rinse with water. Press gently to remove all the extra water. Place the vegetables in a quart size jar.

Mix sugar, vinegar, and the water. Stir well so all the sugar is dissolved. Pour over the vegetables, making sure that all the carrot and daikon are covered with the sugar and vinegar mixture. Let the vegetables marinate in the refrigerator. Best when consumed in within 4 weeks.

Serve in sandwiches or as salad.


Thank you for visiting Color Your Recipes…have a colorful week!


Rye Sandwich Bread with Gluten

This is an Asian inspired sandwich bread made with rye and a bit of gluten. Because I use tangzhong or water roux in the dough, the bread stay soft and cottony for days.

First of all, I hope you all had a great Memorial Day weekend and had a chance to take a moment to remember all the people that fought for our freedom…

This week I am sharing a recipe that is adapted from the one that I posted here. I decide to add some gluten to make the dough a bit pliable, for the horror of the gluten free dieters. Sorry it is nothing personal, since we do not have any problem with gluten I decided to “abuse” a little.

The original recipe that I used was pretty good, but the addition of gluten made it softer and silkier. Since rye flour contains less gluten it was logical just to replace the “missing” gluten as it was for using regular flour. With all this said, I can assure you that if you close your eyes and bite into this bread you will never say that the bread was made with rye flour.

The good thing is that all the goodness of rye flour will not compromise the texture of this bread.

Ingredients:

Water roux or Tangzhong

  • 50 g bread flour
  • 250 ml water

Rye Dough

  • 550 g bread flour
  • 100 g dark rye flour
  • 90 g sugar
  • 8 g salt
  • 8 g yeast
  • 5 g vital wheat gluten
  • 120 ml whipping cream
  • 90 ml water
  • 60 g butter (room temperature)

Method:

Water roux or tangzhong

In a small pan, mix all the ingredients of water roux, place in a low heat and stir constantly until the temperature reach 65C (150F), or if you do not have a thermometer, cook until ripples form. Set aside to cool by covering with a plastic film. Please see here.

Rye Dough

Place all the cooled water roux and all the ingredients listed under rye dough into a mixer except for the butter. Mix until all the ingredients are together, it will slightly sticky.

Increase the speed to number 2 and continue to mix for 5 minutes.

Add the butter and continue the mixing until the dough is smooth and comes out of the mixing bowl, this will take approximately 15 minutes. You will notice that the dough will no longer be sticky.

Place the dough into a medium to large bowl. Cover and let it proof until the size triple from the original size.

Now it is time to shape the dough…

Knock back the dough and split into approximately 8 little balls and let it rest for 5 minutes on the counter.

Flatten the ball making sure that the air is removed and fold into thirds, then roll it like a Swiss roll.

Place the Swiss rolls into the Pullman (4 each) pan and let it rise until triple of its original size.

Cover the pan and bake in a preheated oven of 350F for approximately 25 minutes.

Remove from the oven and flip the bread into a wire rack to cool. Slice according to your like.

Store the bread in an airtight container.

For more bread recipes, please check HERE.

Did you know that gluten is formed when these two proteins glutenin and gliadin form a bond? Moreover, gluten gives bread a chewy texture and traps carbon dioxide during fermentation.

Thank you for visiting Color Your Recipes…have a colorful week!


Baked Thai Chicken Drumstick

Simple recipe for Thai inspired chicken drumstick. Easy and loaded with Southeast Asian flavors.

This is a very simple and easy recipe. I got a big package of organic drumsticks from Costco which comes in small package containing 6 drumsticks each, which e very convenient. After searching for recipes, I decided to try this recipe from here, with some changes.

In this recipe you will need some unusual ingredient such as fish sauce, which is a very common sauce used in Southeast Asia. You will need to acquire a taste for this sauce, although in this recipe there is only a hint, therefore no need to worry about the pungent and smelly nature of this sauce.

It is tastier if you marinate the drumsticks for a few hours, thus saturating the chicken with all the flavors. These chicken drumsticks can be served with the Thai sweet chili sauce or as it is. They are tasty, juicy and packed with Thai flavors.

Ingredients:

  • 6 chicken drumsticks
  • 3 to 4 tablespoons finely chopped cilantro stems
  • 3 cloves garlic, minced
  • 1 tablespoon olive oil
  • 1 3/4 tablespoons fish sauce
  • 1 tablespoon honey
  • Black pepper to taste
  • ½ teaspoon Sriracha sauce
  • ¼ teaspoon turmeric powder
  • Thai sweet chili sauce, for dipping

Method:

Rinse the chicken drumsticks and pat dry. In a small bowl combine oil, fish sauce, honey, Sriracha sauce, turmeric powder, whisking well to mix them all.
Add the sauce onto the chicken drumsticks, make sure that they are all covered with the sauce. Add cilantro and garlic, rub into the drumsticks.
Cover and place the drumsticks in the refrigerator for at least 2 hours.
When ready to bake the drumsticks, preheat oven to 375F.
Arrange the chicken on a cookie sheet lined with aluminum foil or parchment paper.

Bake for 40 minutes or until a wooden stick inserted into the chicken a clear liquid comes through.

Serve with Thai sweet chili sauce if desire.

Thank you for visiting Color Your Recipes…have a colorful week!


Rye Sandwich Bread

Simple recipe for Asian inspired rye sandwich bread using tangzhong or water roux method. The bread is cottony and fluffy and stays soft for days.

We love bread, and I love baking bread…and yes, I know that too much bread is not good, especially the ones that uses only white flour, therefore I try to balance them by using “healthy” flours in my bread baking trek. Honestly, I still like my white bread the best…you know what I mean…the ones that use only white flour…I know…somehow I still have to find a recipe that uses “healthier” flour and gives me the same texture of a white bread…

This recipe is pretty good, I incorporated rye flour into the dough. Because rye contains less gluten, it was expected that the dough will not rise as much…and indeed it did not. Nevertheless the texture was acceptable. I made two loaves, one we used as regular sandwich bread and the other I made them into toasts, which were great.

So if you care to add a bit of extra soluble fibers into your slice of bread, rye is a good alternative.

Ingredients:

Water roux or Tangzhong

  • 35 g bread flour
  • 175 ml water

Rye Dough

  • 400 g bread flour
  • 200 g dark rye flour
  • 90 g sugar
  • 7 g salt
  • 8 g yeast
  • 120 ml whipping cream
  • 90 ml water
  • 60 g butter (room temperature)

Method:

Water roux or Tangzhong

In a small pan, mix all the ingredients of water roux, place in a low heat and stir constantly until the temperature reach 65C (150F), or if you do not have a thermometer, cook until ripples form. Set aside to cool by covering with a plastic film.

Rye Dough

Place all the cooled water roux and all the ingredients listed under rye dough into a mixer except for the butter. Mix until all the ingredients are together, it will slightly sticky.

Increase the speed to number 2 and continue to mix for 5 minutes.

Add the butter and continue the mixing until the dough is smooth and comes out of the mixing bowl, this will take approximately 15 minutes. You will notice that the dough will no longer be sticky.

Place the dough into a medium to large bowl. Cover and let it proof until the size triple from the original size.

Now it is time to shape the dough…

Knock back the dough and split into approximately 8 little balls and let it rest for 5 minutes on the counter.

Flatten the ball making sure that the air is removed and fold into thirds, then roll it like a Swiss roll.

Place the Swiss rolls into the Pullman (4 each) pan and let it rise until triple of its original size.

Cover the pan and bake in a preheated oven of 350F for approximately 25 minutes.

Remove from the oven and flip the bread into a wire rack to cool. Slice according to your like.

Store the bread in an airtight container.

If you enjoy this Asian inspired bread recipe you might want to check on my Recipe Box under Bread.

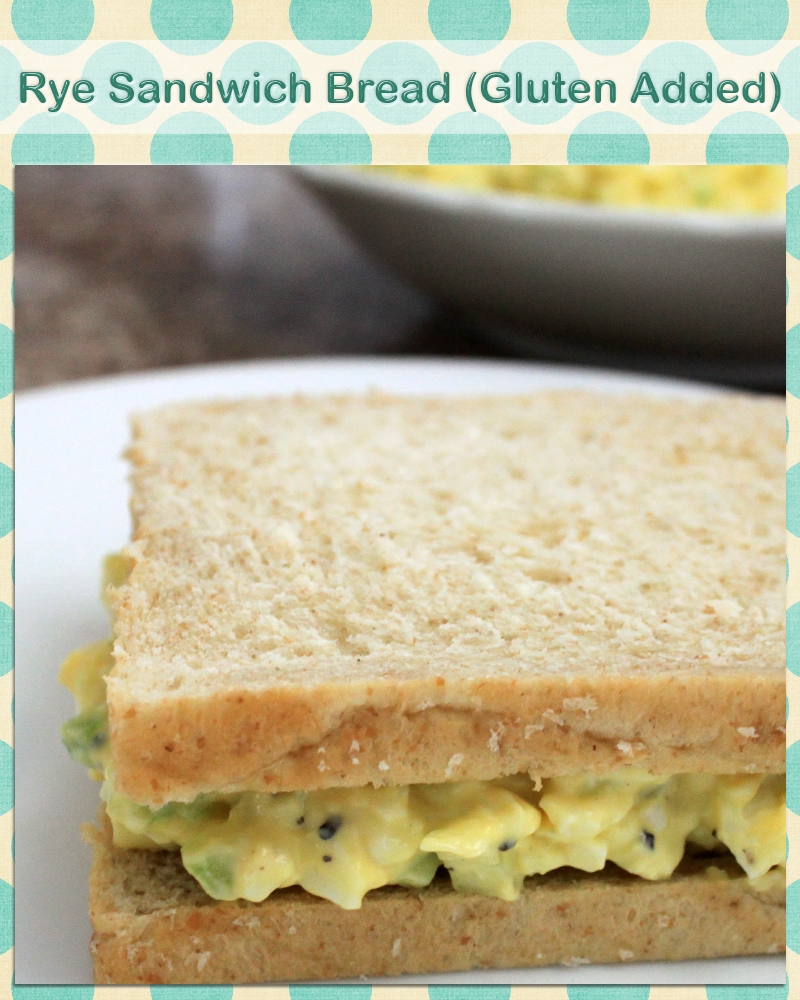
Did you know that rye is a good source of soluble fiber? Rye contains lower gluten than wheat flour due to its higher levels of gliadin and lower levels of glutenin.

Thank you for stopping by Color Your Recipes…have a colorful week!


Sous Vide Miso Tilapia

This is an Asian inspired recipe using sous vide to cook tilapia. The fish is cooked with miso paste and then quickly pan fried.

This is my second experiment cooking sous vide, and this time I cooked tilapia. This is such a nice and easy way to cook fish. The filet turned moist, flaky and so tasty, lots of umami. I always like cooking fish with miso, and in order to have enough flavor you need to marinate the fish in miso for some time. Therefore this method makes it very easy since there is no need to plan in advance.

My husband loves white fish, he claims that they are less “fishy”…so I usually cook white fish for him and salmon for myself, but not this time as I went for the tilapia as well…

I usually buy tilapia at Costco, they are easy to handle since they come individually packed.

I like to serve miso tilapia with steamed rice.

By the way, today is Chinese New Year…

for the ones that celebrate!

Okay, now back to the recipe…

Ingredients:

  • 2 tilapia filets
  • 1 teaspoon finely grated ginger
  • 3 to 4 tablespoons white miso, low sodium
  • 1 teaspoon sugar
  • ½ tablespoon cooking wine
  • 1 teaspoon vegetable oil such as canola, or corn
  • ½ tablespoon butter
  • White sesame seed for garnish

Method:

Preheat water oven to 56°C. I set my Anova Precision Cooker in a stainless steel container.

In a small bowl mix together ginger, miso, sugar, cooking wine and oil.

Rinse the tilapia filet and pat them dry with paper towels. Place the filet of tilapia into a 1 gallon freezer quality plastic bag and cover both sides of the filet with the miso paste.

To create a vacuum in the bag, carefully place the bag with fish filet into the water-bath, make sure to immerse the bag until near the seal, this will create a vacuum, then seal the bag. I usually seal the bag leaving approximately 1 inch open and then immerse the bag until near the seal and finish by sealing the remaining 1 inch.

Cook for 20 minutes. Once the cooking time is off, remove the fish filet carefully from the bag as they break easily. Discard the liquid.

Heat a cast iron skillet with butter, sear both sides of the filet in high heat, keep your eyes on it, it can burn easily due to the miso paste and sugar. Once seared, remove from the heat, sprinkle some sesame seed on it and serve.

If you enjoy this simple recipe for miso tilapia, you might want to check Miso Marinated Scallops or Grilled Marinated Miso Chicken.

Did you know that miso is a paste from fermented soybean? Miso has been essential in Chinese and Japanese diets for more than 2500 years. Because miso is a fermented product, it is rich in enzymes which might help digestion. The color of miso can vary from light yellow to a deep dark brown and the flavor from slightly sweet to hearty flavor.

This coming Sunday is Valentine’s Day…sorry for not posting any Valentine’s Day like recipe…nevertheless…

Thank you for stopping by Color Your Recipes…have a colorful week!


Celery Salad with San-J Sauce

This is simple salad recipe using mainly blanched celery and tossed with San-J organic soy sauce.

This is a very simple and easy recipe using mainly blanched celery, yes blanched celery…this way the celery still crunchy and yet somehow delicate.

I accepted the invitation to try more San-J sauces, they were sent to me without charge, and I did not receive any compensation for this post and all the content and opinion in this post are solely mine. I decided to use the gluten free organic tamari soy sauce in this recipe, and I love it, especially because this is a reduced sodium version of soy sauce. You can look for more San-J sauces here and pick your favorite one.

In Asian cuisine, salad is not very common, most of the so called vegetable “cold dishes” are either blanched or somehow pickled. Therefore I used similar method to make this celery salad. I hope you get to try, because the texture of this blanched celery is very different from the fresh cut ones. The addition of soy sauce and sesame oil gives this salad an Asian twist.

Ingredients:

  • 6-8 celery stalks, cut into strips
  • San-J Tamari organic soy sauce to taste
  • ½ teaspoon sesame oil
  • Chili oil, to taste
  • Cilantro, chopped

Method:

Boil water in a medium pot. Add the celery and blanch for approximately 1 minute.

In the meantime prepare a bowl with cold water and ice cube.

Drain the water from the celery and immediately place the celery into the ice bowl of water.

Once the celery strips are ice cold drain well and place them in a bowl.

Add on the celery strips San-J soy sauce, sesame oil, chili oil. Toss gently until all the celery strips are coated with the sauce.

Finally toss in the chopped cilantro. Serve cold.

If you enjoy this simple recipe of celery salad you might want to check on Spinach Salad with Ponzu Sauce.

Did you know that celery is an excellent source of vitamin K in spite of its low-calorie content?
Moreover, celery contains sodium, therefore the slightly savory flavor.

Thank you for stopping by Color Your Recipes…have a colorful week!


Caramelized Garlic

This is a very simple and practical recipe for people that like garlic…having a handy jar of caramelized garlic can be very helpful. It can be added everywhere garlic is welcome…

Okay, this is one of the posts that I feel almost bad posting it…since no recipe is really needed.  In spite of the simplicity of this caramelized garlic, especially when you find yourself with a huge bag of fresh garlic (thanks to Costco), it is very convenient to have this “condiment” handy.

I find having a jar of caramelized garlic very useful…I add them to stir-fry vegetables and soups,  on pizza, bruchetta, pasta, seafood…you named it…practically everywhere you use garlic.

Ingredients:

  • Garlic (as much as you want), finely chopped
  • Olive oil

Method:

Place the olive oil in a wok or fry pan, add the finely chopped garlic and cook/fry in low to medium heat.

Stir occasionally as it can burn. Once reached the “caramel” golden color, remove from the heat.

Let it cool before storing in a glass jar.

Store caramelized garlic in the refrigerator and use as you like.

If you enjoy this simple condiment with garlic you might want to try the Asian inspired recipe for Scallion and Ginger Sauce.

Did you know that garlic is from the onion family? Garlic contains allicin, which has medicinal properties. Some of the allicin properties include reduction of blood pressure, reduction risk of heart disease by improving cholesterol levels, combating common cold.

Thank you for stopping by Color Your Recipes…have a colorful week!